Mecha Chameleon Best Spots Tier List: All Maps Ranked
Mecha Chameleon hiding spots ranked S through C tier across all 7 maps - Mansion, Indoor Country, Penguin Hotel, Sewer, Osaka, and Sugar Land.
How This Tier List Works
A Mecha Chameleon best spots tier list needs to account for more than just “is this corner dark?” Every hiding spot in the game is evaluated against four criteria:
- Silhouette strength - does the environment break your human outline naturally, or do you need to work harder at posing?
- Sample forgiveness - can a novice painter produce a convincing camouflage here with one or two Spoid samples, or does it demand multi-layer expertise?
- Seeker traffic - how often do Seekers check this area first? Low-traffic spots survive longer.
- Escape potential - if a Seeker does find you, can you reposition to a fallback spot?
Every spot on this list has been tested across Normal, Infection, and Double modes. The tier rankings reflect consistent performance across multiple rounds - not a single lucky hide.
S-Tier Hiding Spots
S-tier spots are the ones where even a mediocre paint job can survive a full round. These are the locations you should sprint to during the prep window.
1. Mansion Library Bookshelf Crouch
The library bookshelf is arguably the best hiding spot in Mecha Chameleon. Crouch between the shelves, sample the book spine colors with the Spoid, and paint yourself as one of the books. Seekers naturally scan at eye level, and a crouched body among colorful spines is extremely hard to distinguish from the real thing.
Why it wins: Eye-level scanning misses crouched targets, book spine colors are highly forgiving (multi-color, varied shades), and the library is often a secondary sweep area after the main rooms.
Paint pairing: Sample the brightest spine color as your base, the darkest spine as shadow. Use a low crouch pose (R to cycle). One layer is usually sufficient.
2. Osaka Rooftop Neon Billboard Frame
Bright backlight from the neon signs dissolves your silhouette edge - the single hardest thing for Seekers to detect. Sample two tones from the sign face (one lit, one shadow), paint in layers, and press flat against the frame. If a Seeker reaches the rooftop, drop down to the truck yard below for an instant escape.
Why it wins: Backlight destroys outline detection, the sign face provides rich multi-tone samples, and the escape route to the truck yard is the fastest bail-out on any map.
3. Sewer Graffiti Wall
The Sewer’s graffiti-heavy sections are chaotic, multi-colored surfaces where a painted player reads as part of the artwork. The low lighting helps further - shadows are deeper here than on any other map. Sample the graffiti colors and blend into the wall art.
Why it wins: Complex patterns forgive painting errors, low visibility works in your favor, and Seekers have limited open sight lines in the Sewer’s confined layout.
4. Mansion Ceiling Pillar
Climb to the ceiling and attach yourself to one of the pillars in the main room, then paint to match. Seekers almost never look up during their first sweep - they scan at eye level and check behind furniture first.
Why it wins: Height mismatch exploits Seeker scanning habits. Requires more effort to reach but rewards with near-total invisibility during early sweeps.
A-Tier Hiding Spots
A-tier spots are strong picks that consistently perform well, but they either require better painting skills or are in slightly higher-traffic areas.
| Spot | Map | Why A-Tier | Weakness |
|---|---|---|---|
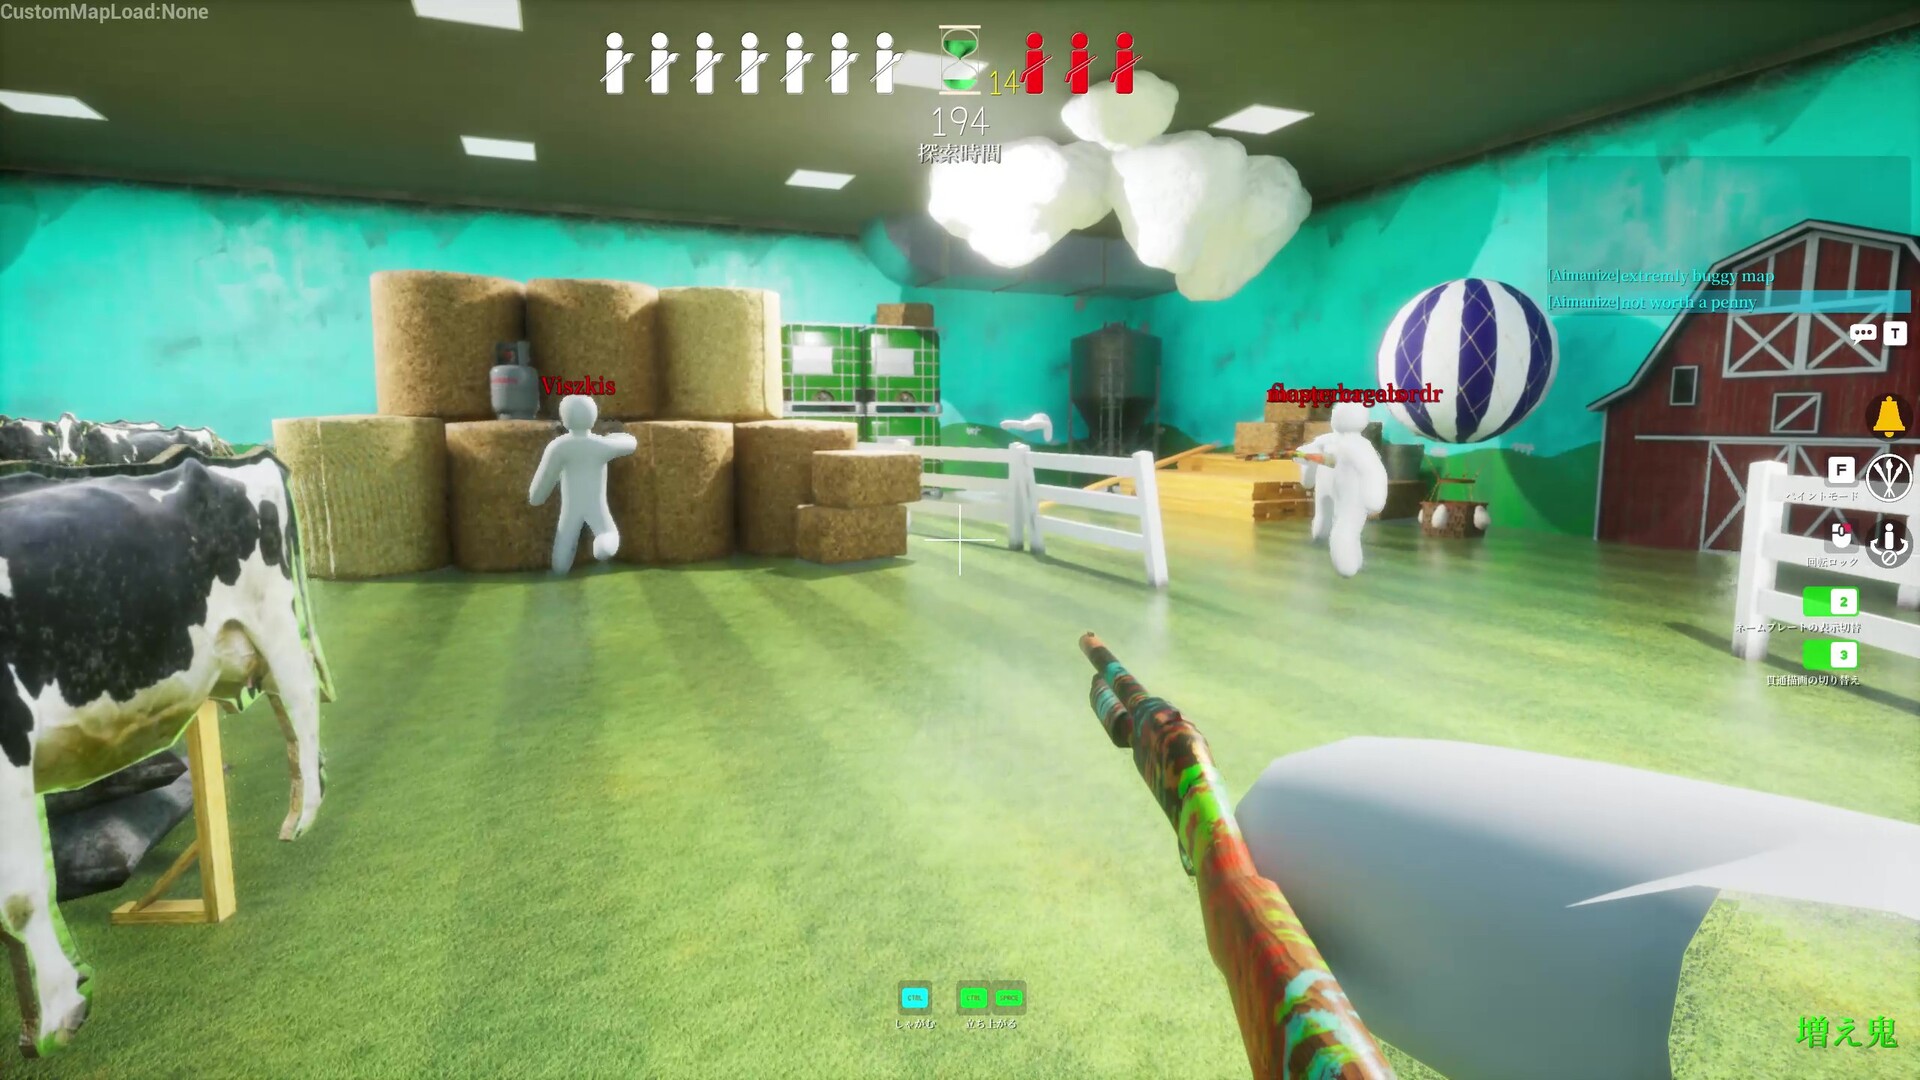
| Cow standee disguise | Indoor Country | Seekers scan for humans, not cows - hilarious and effective | Standees are checked more often as players learn the trick |
| Bathroom tile corner | Mansion | Repeating tile patterns forgive minor color errors | Tight space, no escape route |
| Truck yard crate clutter | Osaka | Chaotic rust/shadow palette is forgiving for novices | High traffic once Seekers drop from rooftop |
| Penguin plush pile | Penguin Hotel | Soft, varied colors and shapes break your outline | Newer map - Seekers are still learning it |
| Dark ceiling pipe | Sewer | Low light + large object = nearly invisible | Hard to reach, limited pose options |
| Hallway painting disguise | Mansion | Frame-shaped poses sell the illusion perfectly | Requires precise color matching |
| Shop-front poster wall | Osaka | Multi-tone posters are the friendliest sampling environment | Lower-traffic but gets swept in coordinated lobbies |
B-Tier Hiding Spots
B-tier spots work well in small lobbies (2–4 players) or as fallback positions when your first-choice spot is taken. They are reliable but not round-winning on their own against experienced Seekers.
Indoor Country Spots
- Hay bale cluster - warm yellow-brown tones are easy to sample, and hay bales provide physical line-of-sight blocks. Good for novice painters.
- Ceiling cloud area - attach near the painted clouds on the ceiling. Creative and catches Seekers off guard, but ceiling spots are increasingly checked.
- Green crate tuck - squeeze behind a large green crate. Simple and functional but easy to flush with a coordinated sweep.
Backrooms Spots
- Wall bike disguise - paint to match bikes mounted on the wall. Seekers skim past fixtures they expect to be there.
- Chair stack shadow - crouch underneath a stack of chairs. The shadow helps, but harsh even lighting on this map means paint precision is critical.
- Exit sign camouflage - paint yourself as an exit sign. Easy to overlook, but limited positioning options.
Penguin Hotel Spots
- Upper floor dice cluster - oversized dice on the upper floor provide interesting geometric cover. Still being charted by the community.
- Bedroom furniture blend - beside furniture in the bedroom area. Multiple options but Seekers are learning the map quickly.
C-Tier Spots (Use Only as Last Resort)
C-tier spots are visible, high-traffic, or demand expert-level painting to pull off. Avoid these unless every better option is taken:
- Center of room poses - hiding in plain sight works occasionally against new Seekers but is suicide against veterans
- Open floor lying flat - requires a flawless paint job and even then, shadow mismatch gives you away
- Trash piles on Backrooms - harsh lighting eliminates shadow advantages, and these are swept early
- Any single-color wall press without posing - a flat single-color body is the #1 giveaway for new players
Tier List Summary Table
| Tier | Map | Spot | Skill Required | Traffic |
|---|---|---|---|---|
| S | Mansion | Library bookshelf crouch | Low | Low |
| S | Osaka | Rooftop neon billboard frame | Medium | Low |
| S | Sewer | Graffiti wall section | Medium | Medium |
| S | Mansion | Ceiling pillar | High | Very Low |
| A | Indoor Country | Cow standee | Low | Medium |
| A | Mansion | Bathroom tile corner | Low | Low |
| A | Osaka | Truck yard clutter | Low | Medium |
| A | Penguin Hotel | Penguin plush pile | Low | Low |
| A | Sewer | Dark ceiling pipe | High | Very Low |
| A | Mansion | Hallway painting | High | Low |
| A | Osaka | Shop-front poster wall | Low | Low |
| B | Indoor Country | Hay bale cluster | Low | Medium |
| B | Indoor Country | Ceiling clouds | Medium | Low |
| B | Backrooms | Wall bike disguise | Medium | Medium |
| B | Backrooms | Chair stack shadow | Medium | Medium |
| B | Penguin Hotel | Upper floor dice | Medium | Low |
| C | Any | Center of room | Very High | High |
| C | Any | Open floor lying flat | Very High | High |
Best Hunter Skins Tier List Considerations
While this guide focuses on hiding spots, Seeker effectiveness is also influenced by visual clarity. Some hunter skins make you more intimidating or easier to spot in lobbies, which can affect how Hiders react to your presence. For a full breakdown of hunter skins and their unlock conditions, see our Hunter Skins Guide.
Map-by-Map Spot Counts
| Map | Documented Spots | Best Spot | Difficulty |
|---|---|---|---|
| Mansion | 11+ | Library bookshelf | Easy |
| Indoor Country | 6–7 | Cow standee | Easy |
| Osaka | 8+ | Rooftop billboard | Medium |
| Penguin Hotel | 5+ (still charted) | Penguin plush pile | Medium |
| Sewer | 4–5 | Graffiti wall | Hard |
| Backrooms | 4 | Wall bike disguise | Hardest |
| Sugar Land | Being charted | TBD | Medium |
Universal Spot Strategy: Types Over Memorization
Maps change with updates - new maps get added (Osaka arrived in v1.7.0, Penguin Hotel in v1.2.0), and existing maps get tweaked. But the four spot types that work on every map never change:
- Shadow breaks - use lighting to dissolve your outline (best in Sewer, Mansion corners, Osaka alleys)
- Prop clusters - hide among similarly-sized objects (best in Mansion, Indoor Country, Penguin Hotel)
- Wall presses - flatten against vertical surfaces to kill depth (works everywhere)
- Height mismatches - hide above or below where Seekers naturally scan (ceiling pillars, under-chair stacks, floor-level poses)
Learn the types, not the exact coordinates. Types survive map updates; specific spots do not.
Common Mistakes That Ruin Great Spots
- Single-tone painting - one sampled color looks flat and unnatural. Always sample at least two tones (lit and shadow) from the same surface.
- Wrong pose for the environment - a standing pose against a flat wall preserves your human silhouette. Cycle poses with
Runtil your outline matches nearby objects. - Repositioning mid-round - once you have painted and posed, hold still. Movement is the loudest tell in the game and breaks camouflage continuity instantly.
- Forgetting rim shadows - the silhouette outline along your body edges is what gives you away. Paint darker tones along edges that would naturally catch shadow.
Guide FAQs
What is the best hiding spot in Mecha Chameleon? +
The Mansion library bookshelf crouch is the single best spot in the game. Crouch among the books, paint yourself to match the spine colors, and Seekers scanning at eye level will walk right past you.
How many maps does Mecha Chameleon have? +
Seven official maps: Mansion, Indoor Country, Penguin Hotel, Sewer, Backrooms, Osaka, and Sugar Land. Steam Workshop maps add community-created stages on top of these.
Which map is best for beginners in Mecha Chameleon? +
Mansion. It has 11+ hiding spots, multiple rooms with varied surfaces, forgiving lighting, and plenty of furniture for natural-looking disguises.